
Last updated November 20, 2026
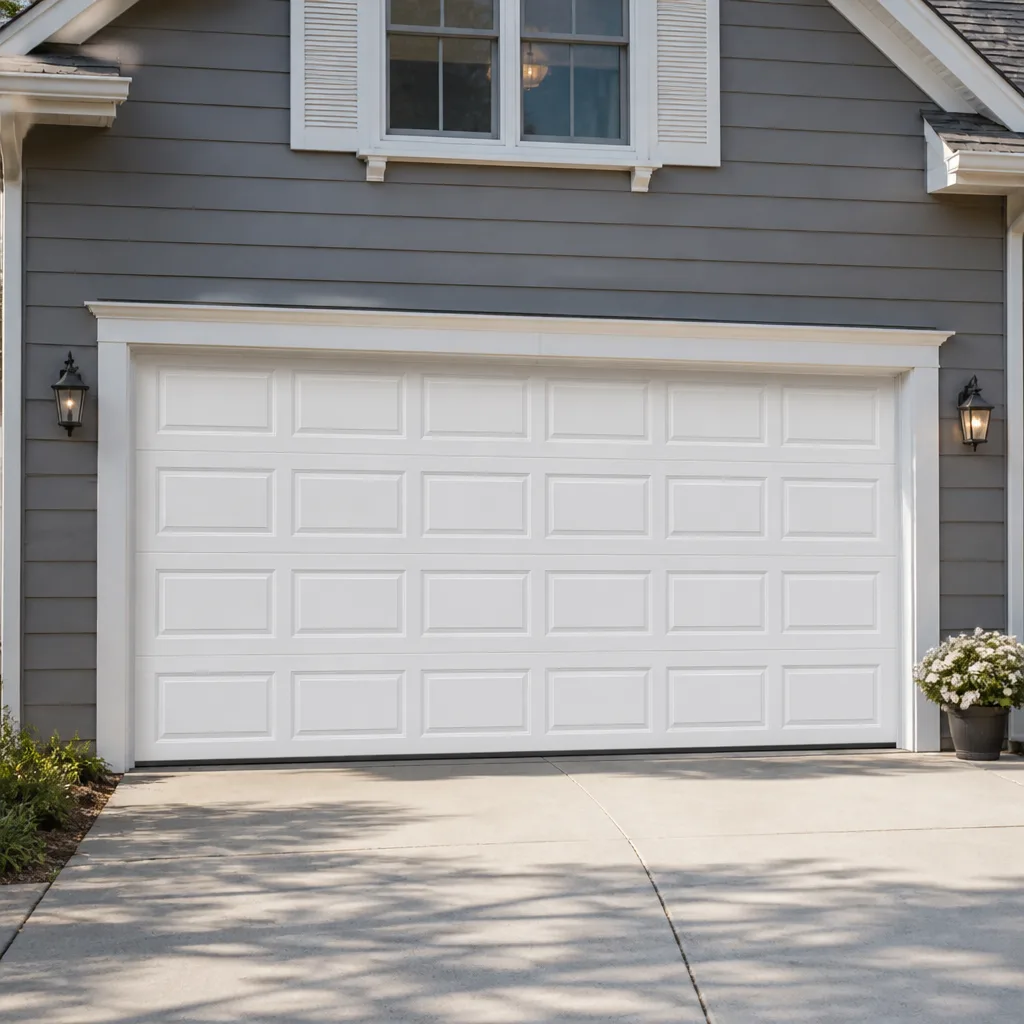 Raised-panel steel
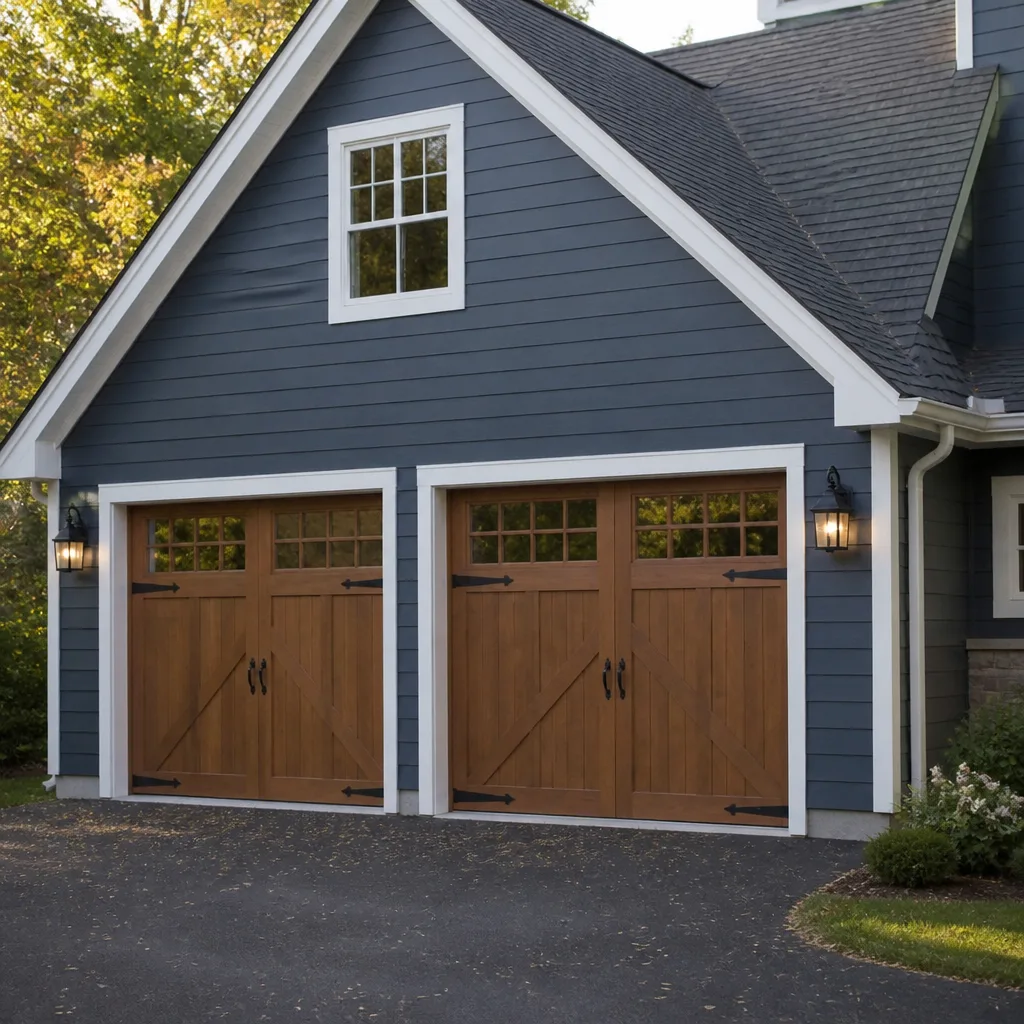 Carriage house
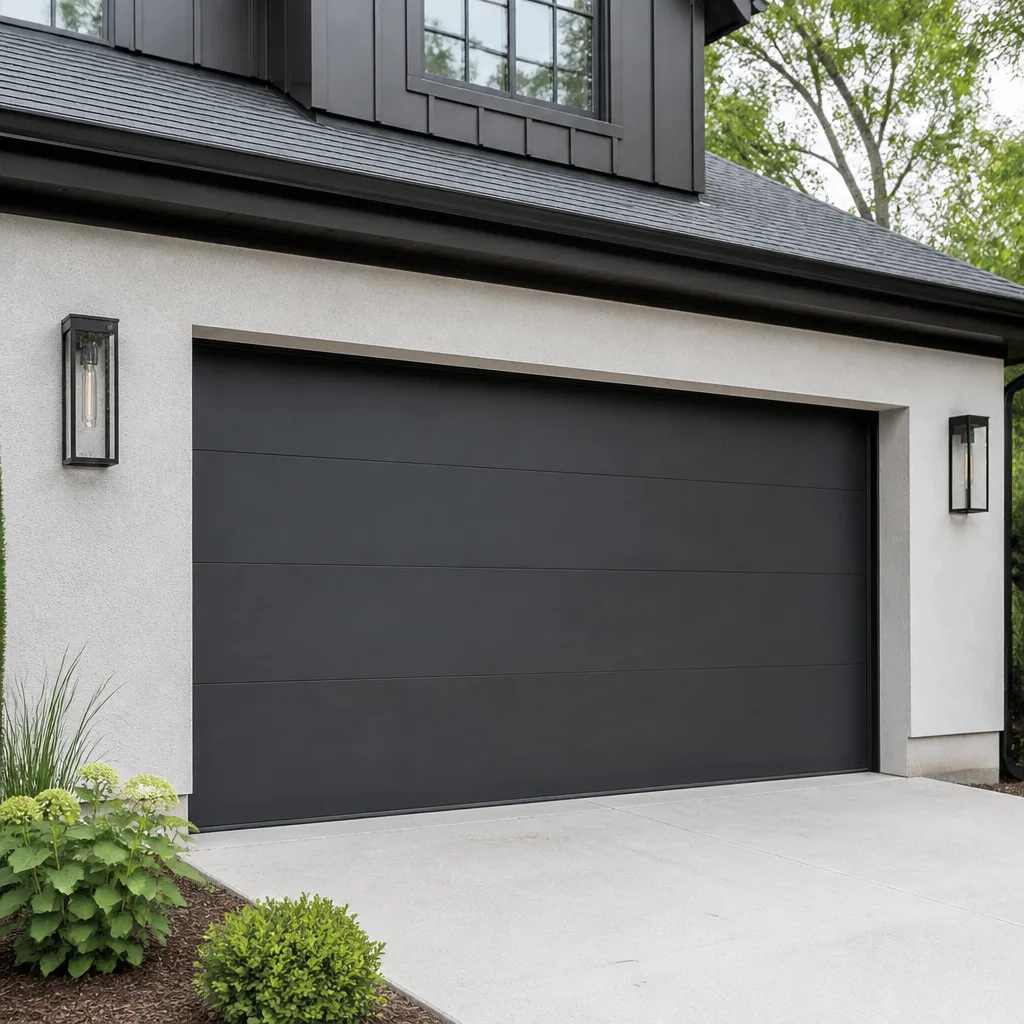 Modern flush
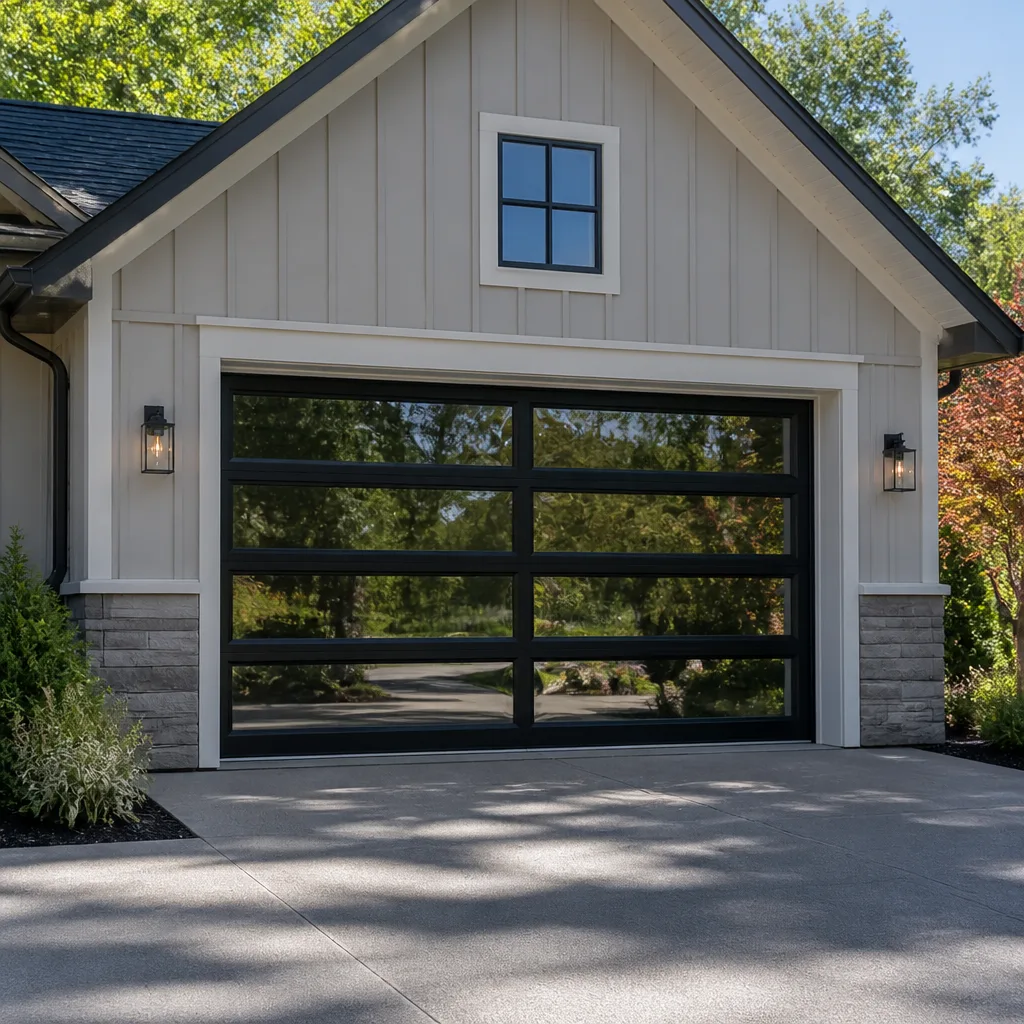 Full-view glass
 LiftMaster openers
 Chamberlain openers
Full 25-point door and opener safety check with every visit - springs, cables, rollers, tracks, and your LiftMaster or Chamberlain opener included
You get a price before we start. It does not change when the pro arrives.
Get your free estimateGarage Door Repair Maintenance Checklist for Puyallup Homeowners
Most garage door breakdowns aren’t sudden. In our experience, they announce themselves 3 to 6 months ahead of the day the door finally stops moving – with grinding, uneven travel, a slight sag, or a rattle that wasn’t there last spring. Homeowners walk past these signals every day because nobody ever told them what “normal” looks like next to “worn.” A checklist that just says “lubricate springs” is useless without a pass/fail line to measure against. This guide fixes that. You’ll learn what each component should look and feel like, which items are a 15-minute fix you can safely handle, and which ones are a pro job. Puyallup’s damp winters and wet-season humidity put specific demands on rollers, tracks, and hardware that a dry-climate checklist ignores, so we’ve written this for the door sitting in your garage right now.
Quick Answer
A proper garage door maintenance checklist covers six areas: visual inspection of springs, cables, rollers, and panels; a balance test with the opener disengaged; lubrication of hinges, rollers, and the torsion spring with a silicone- or lithium-based product (never heavy grease); a safety-reverse test of the opener’s photo-eye and pressure sensors; track alignment and hardware tightness; and a listen-and-watch test for grinding, jerking, or uneven travel. Most of these checks take under 30 minutes. Spring, cable, and torsion work is the one item that never belongs on a homeowner’s list – those parts are under extreme tension and can cause serious injury, so book a technician for anything involving them.
Styles & brands we work with
- Raised-panel steel
- Carriage house
- Modern flush
- Full-view glass
- LiftMaster openers
- Chamberlain openers
Table of Contents
- Component-by-Component Inspection Protocol
- How to Do a Proper Balance Test (and What It Tells You)
- Reading the Signs of Spring Fatigue: Torsion vs. Extension
- Lubrication Specifics for Puyallup’s Damp Climate
- Testing the Safety Reverse and Photo-Eye System
- Tracks, Rollers, and Hardware: What to Tighten, What to Replace
- The 15-Minute Monthly Check vs. the Annual Deep Check
- What You Can Safely Do Yourself vs. What Requires a Technician
Component-by-Component Inspection Protocol
A garage door has around a dozen moving parts that wear on a predictable schedule. Rather than a vague “check for wear,” here’s what you’re actually looking for on each one. Do this inspection once, standing on a step stool if needed, with the door closed and the opener disengaged (pull the red release handle).
Springs (torsion, mounted on the shaft above the door): Look for a visible gap in the coil – roughly a quarter-inch separation between windings is a broken spring, not fatigue. A worn-but-intact spring often shows a tight, uneven coil set or rust pitting along the wire. Pass: even coil spacing, no rust bloom, no gap. Fail: any gap, deep rust, or a door that suddenly feels much heavier to lift by hand.
Extension springs (running along the horizontal tracks on either side): These should have a safety cable threaded through the center. Pass: cable intact, spring stretched but not fully extended. Fail: cable missing or frayed, spring coils touching end to end, or visible stretching beyond its designed length.
Cables: Run your eye – not your hand – along each cable from the drum to the bottom bracket. Pass: cable sits neatly in the drum groove, no fraying or kinks. Fail: any loose cable, birdcaging, or a cable off the drum.
Rollers: Look at each roller in its hinge. Pass: roller spins freely and the wheel is round with a smooth surface. Fail: flat spots, cracking, or a roller that wobbles in the hinge. Nylon rollers wear more slowly than steel, but both fail eventually.
Hinges and hardware: Pass: hinges pivot without squealing, bolts snug. Fail: loose bolts, rusted hinges, or a hinge that grinds when the door moves.
Panels: Stand back and sight along the door edges. Pass: panels sit flush and level. Fail: a bowed or cracked panel (common on steel doors after a hard bump), or gaps between panels.
How to Do a Proper Balance Test (and What It Tells You)
The balance test is the single most telling five-minute check on your whole door, and most homeowners have never done it. Here’s the protocol:
- Close the door fully and pull the red release handle to disconnect the opener. The door is now in manual mode.
- Lift the door by hand about halfway up (roughly 3 to 4 feet) and let go. It should stay put at that height with almost no effort from you.
- Lift it a foot higher and release again. It should hold.
- Lower it a foot and release. It should hold.
- If instead the door drops on its own, drifts down slowly, or rises on its own, the door is out of balance.
An out-of-balance door is doing real damage to your opener every time you press the button. The motor is designed to move a balanced load – when the door is heavy because a spring has lost tension, the opener carries the extra weight on every cycle. That translates into burned-out gears, a strained motor, and a much shorter opener lifespan. If your LiftMaster, Chamberlain, Genie, or Craftsman opener is straining or overheating, the balance test is where we start looking first, not the opener itself.
Re-engage the opener by pulling the door up until the trolley clicks back into place. If the door failed the balance test, don’t keep operating it. The most likely cause is a fatigued spring – and that’s a professional job, not a DIY one. A competent garage door spring repair visit is far cheaper than the opener replacement a strained motor eventually forces.
Reading the Signs of Spring Fatigue: Torsion vs. Extension
Springs are the engine of your door. Whether they’re torsion (mounted above the door on a steel shaft) or extension (running along each side track), they bear the full weight of the door and cycle through thousands of tension changes. Their failure modes look different, so the “is it worn” test differs by type.
Torsion spring fatigue signals:
- A door that slams down fast or feels much heavier to lift by hand than it used to
- Visible rust pitting or a loosened, uneven coil winding
- A loud bang from the garage after the door was last operated (usually a snapped spring, not a mystery noise)
- The opener kicking into safety-stop mode during opening – it’s detecting the extra load
Extension spring fatigue signals:
- Springs stretched to the point that adjacent coils nearly touch
- The safety cable through the middle of a spring is loose, frayed, or missing
- One side of the door lifts slower than the other (uneven tension between the two springs)
- Visible elongation compared to a fresh spring of the same size
Puyallup’s wet-season humidity accelerates corrosion on both types, and a rusted spring loses tension faster than a clean one. That’s part of why the annual check matters more here than in dry climates. Reading a spring’s fatigue stage is a judgment call – measuring tension, inspecting wire diameter, and confirming the correct replacement are all things our garage door repair technicians do on-site. When a spring has lost more than a fraction of its original tension, the safe answer is replacement, not adjustment.
Lubrication Specifics for Puyallup’s Damp Climate
Most generic checklists say “lubricate the door” without telling you what to use or where it should not go. Here’s the specific version.
What gets lubricated:
- Roller stems and bearings (one drop each, not the wheel itself)
- Hinges at the pivot points
- The torsion spring coil – a light coat of silicone spray over the wire, not grease
- The opener rail’s travel chain or screw (check your opener manual for the specific product – some screws want a lighter grease)
What does NOT get lubricated:
- Tracks – lubricating tracks attracts grit, and grit means jamming. Tracks stay clean and dry.
- Photo-eyes and any sensor lens – product on the lens will cause false triggers
- Panels and painted surfaces
Which product: a silicone- or lithium-based spray works best. Avoid heavy axle grease on rollers – it collects dust and turns into grinding paste. In Puyallup’s damp climate, silicone spray holds up better than thin oils, which wash off quickly when the air is humid and the door sweats. Rust bloom on hinges and rollers is your signal that the last application has worn away and it’s time for a fresh pass.
One note on torsion springs you’ll find on LiftMaster, Clopay, Amarr, and Wayne Dalton systems: the spring manufacturer’s recommendation is a light silicone film, but the act of touching a spring that’s under extreme tension is a safety decision, not just a lubrication one. If the spring is tight and you’re unsure how it’s wound, leave the coil alone and let a technician handle that part of the annual service. Getting a light film on the rollers and hinges is something almost every homeowner can do in ten minutes.
Testing the Safety Reverse and Photo-Eye System
This is the single check that has a legal and safety weight attached to it. The automatic reverse is a required feature on every opener sold in the US, and it’s also the feature most likely to be out of adjustment without anyone noticing.
- Photo-eye test: With the door open and the photo-eyes (the small lenses on either side of the door at floor level) aligned, pass a hand or a piece of cardboard through the beam. The door should reverse immediately if it was closing. If the door closes anyway, the photo-eye is misaligned, dirty, or the wiring has failed.
- Balance test again – this one matters: With the door half-open, place a 2-inch piece of wood flat on the ground under the door, then close the door. It should reverse the moment it contacts the wood. If it pushes through and continues to the floor, the reverse pressure is set too hard.
- Force-test the other direction: With the door fully closed, hold your hand at waist height and press the open button; the door should reverse the moment it meets resistance on opening. If it keeps pushing, the force setting needs adjustment.
Most modern openers – including LiftMaster and Chamberlain models – have adjustment screws or digital settings for both the close-force and open-force. If the door fails any of these three, don’t keep operating it while you puzzle it out; a door that won’t reverse correctly is a genuine safety risk, especially in a house with children or pets. Our garage door opener repair work on this exact set of tests is routine, and if your opener is on our service list, we already know the adjustment location before we arrive.
Tracks, Rollers, and Hardware: What to Tighten, What to Replace
Vertical tracks should be perfectly plumb; horizontal tracks should angle very slightly back toward the rear of the garage. Sight along each track from floor to ceiling. A track that has bumped out of alignment – usually from a car mirror clip or a careless ladder – makes rollers bind and forces the opener to work harder.
Checklist for tracks and rollers:
- Alignment: a straight edge held against the track reveals bends. Small dents can often be worked out by a technician; a badly bent track needs replacement.
- Fasteners: run a screwdriver over the lag bolts that hold the tracks to the wall and ceiling. Loose bolts are the most common source of a door that rattles and jolts in its travel.
- Spacing: the gap between rollers and track should be consistent. If one section of track looks pinched, the door will chatter through that spot.
- Rollers: any flat-spotted, cracked, or wobbling roller should be replaced. They’re cheap, and they’re also one of the few parts a homeowner with basic tools can safely swap one at a time without releasing spring tension.
- Bottom bracket and hinges: the bottom bracket at each corner is where a lot of force passes. Loose bolts there are worth snugging now. But never touch the bottom bracket while the door is under spring tension – a released bracket can send a cable flying.
Tracks and rollers are the low-risk part of the maintenance list. Hardware tightening and roller swaps are within reach for most Puyallup homeowners with a step ladder and an afternoon. Anything involving the cables, drums, bottom brackets, or springs belongs to a trained technician.
The 15-Minute Monthly Check vs. the Annual Deep Check
Not every item on the list needs doing every month. Here’s how to split the work.
Every month (or every time you notice a change):
- Open and close the door and listen – grinding, jerking, or uneven travel is worth investigating.
- Run the photo-eye and auto-reverse test.
- Press the opener button with the door closed and watch for the opener to struggle at the start – a strained motor is an early warning.
- Look at the springs for any visible gap, rust, or change from last month.
Once a year (or at the change of seasons):
- Full balance test with the opener disengaged
- Lubrication of rollers, hinges, and spring (silicone or lithium spray)
- Track alignment check and hardware tightening
- Roller inspection and replacement of worn rollers
- Weather seal inspection – the rubber strip along the bottom of the door is the part that sees the most Puyallup rain and the first to crack
- Professional spring tension and opener force-setting evaluation
The monthly items take 15 minutes. The annual items take 30 to 45 minutes. The professional items shouldn’t be skipped – spring tension and force settings are the two places where a small error can turn a routine check into an injury or a door that fails to reverse.
What You Can Safely Do Yourself vs. What Requires a Technician
The line between safe DIY and dangerous DIY is clearer than most homeowners think.
Safe to do yourself:
- Running the monthly balance and reverse tests
- Lubricating rollers, hinges, and the exterior surface of a torsion spring with silicone spray
- Tightening visible lag bolts with a screwdriver
- Replacing a single worn roller (with the door disengaged and no tension on the cables)
- Cleaning tracks and replacing the bottom weather seal
- Cleaning photo-eye lenses
Requires a professional:
- Any spring adjustment or replacement – torsion springs are under the full weight of the door and can cause serious injury if they release. Extension spring work carries the same risk. This is not a YouTube fix.
- Cable replacement or adjustment
- Bottom bracket removal (it’s the anchor for cable tension)
- Track replacement or heavy realignment
- Opener force-setting adjustments if you’re unsure
- Any opener that’s showing electrical or circuit-board problems
We’re a repair-first specialist, not a dealer trying to sell you a new door – the point of this checklist is to help you keep the door you have working for longer. Of the eight brands we work on, Clopay and Amarr doors are common across older Puyallup neighborhoods, and Wayne Dalton and Craftsman systems turn up in homes built in the last two decades. We know the quirks of each. Whether you drive a Genie-equipped single-car door or a LiftMaster system wired into your smart home, the diagnosis is the same: find the actual failing component and fix that, not the whole assembly.
Common Mistakes to Avoid
- Spraying grease on the tracks. It’s the most common mistake we see. Tracks should be clean and dry, and grease traps grit into the rollers and causes chattering that mimics a much worse problem.
- Skipping the balance test because the opener still works. A strained opener can operate for months before it fails, dragging the whole door out of balance along the way. Test with the door in manual mode, not by pressing the button.
- Adjusting the springs yourself. We’ve been called to Puyallup homes where a homeowner tried this and got a nasty injury. The saved cost of a repair isn’t worth it; springs can be professionally adjusted safely in one visit.
- Ignoring a snapped spring and using the opener anyway. It will burn out the opener’s motor or shear the gears within a few cycles. If you hear the bang and the door suddenly drops, stop operating the door until it’s repaired.
- Replacing the whole opener because it’s “old”. Half the openers we inspect only need a gear kit, a capacitor, or a photo-eye repair – not a replacement. Diagnose the actual failure first.
- Assuming a fresh coat of paint will fix a bowed panel. Cosmetic fixes don’t correct a panel that’s out of alignment, and a bowed panel will keep chattering against the rollers no matter how nicely it’s painted.
- Leaving a safety-reverse failure in place through the winter. Wet-season use puts the reverse function through more cycles. If it fails a single test, book it now – don’t wait for a full-season freeze.
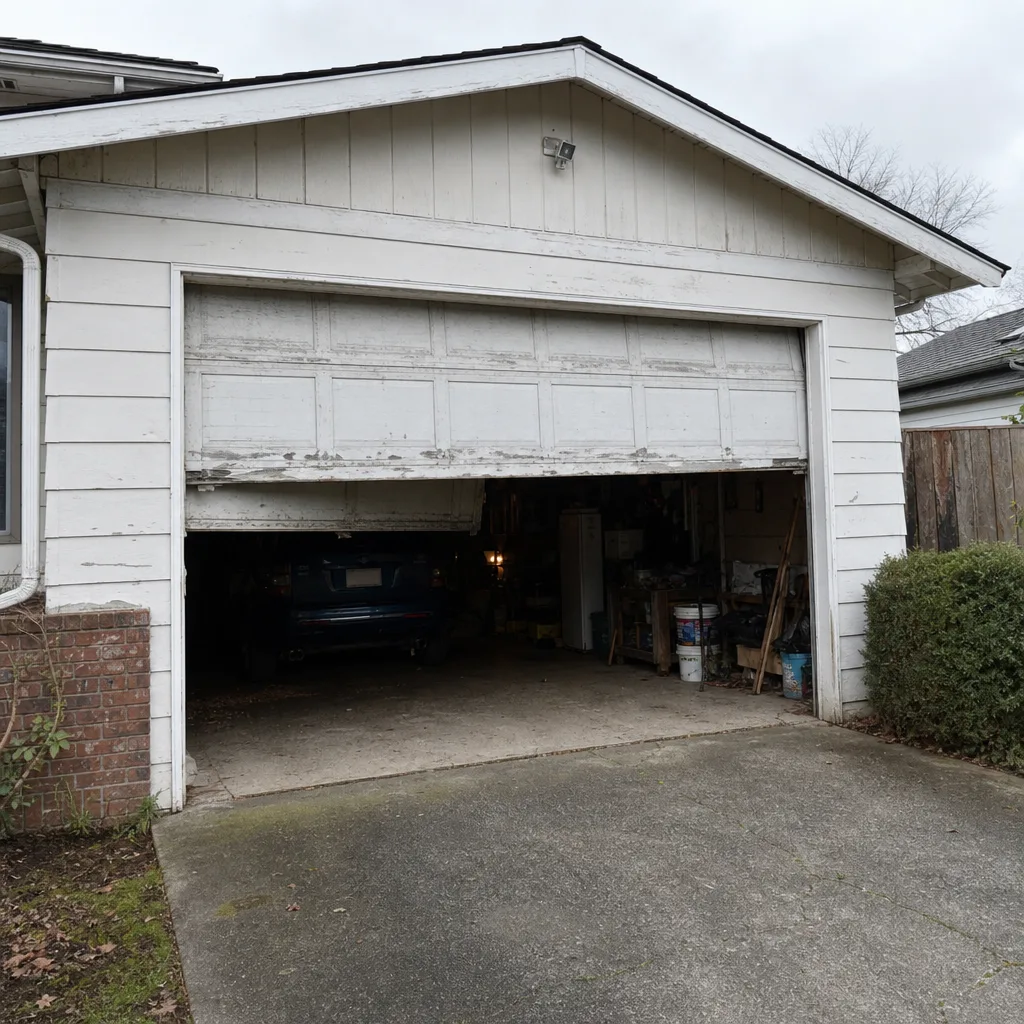
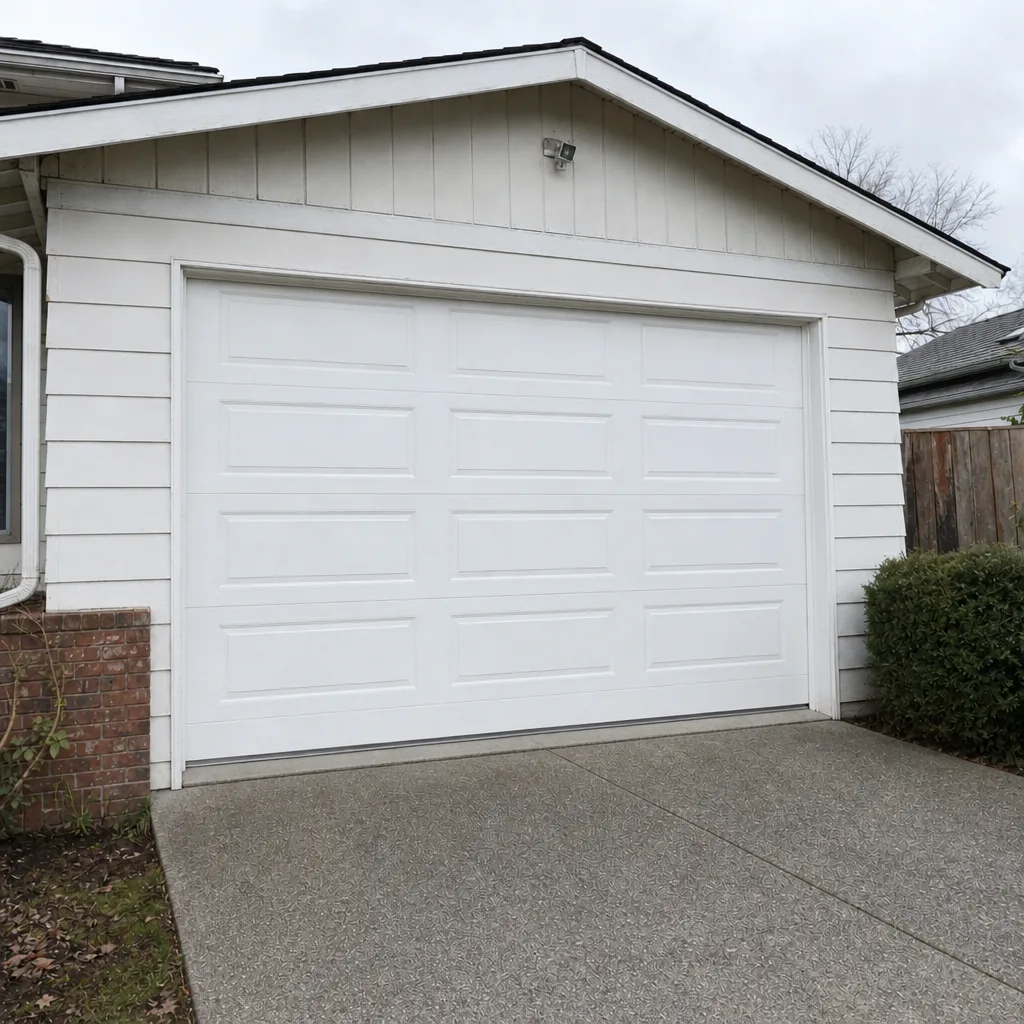
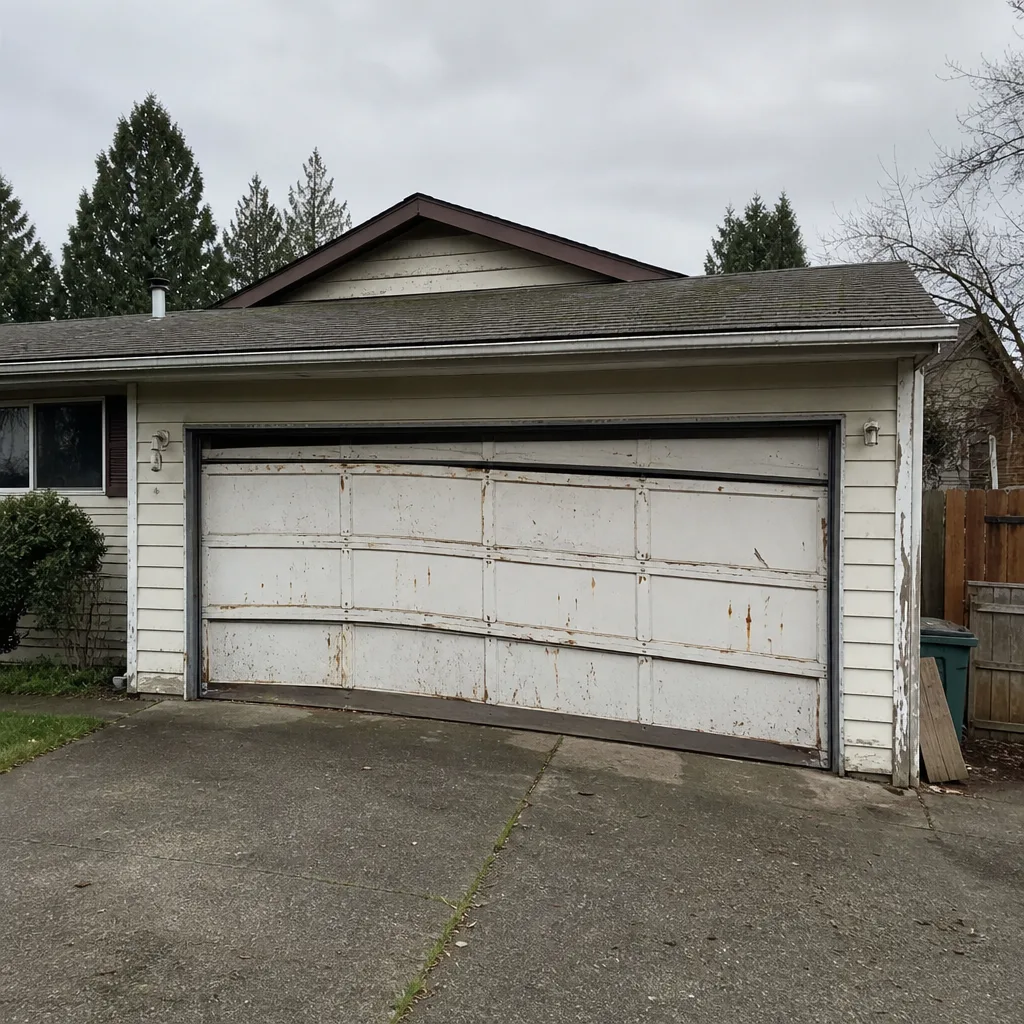
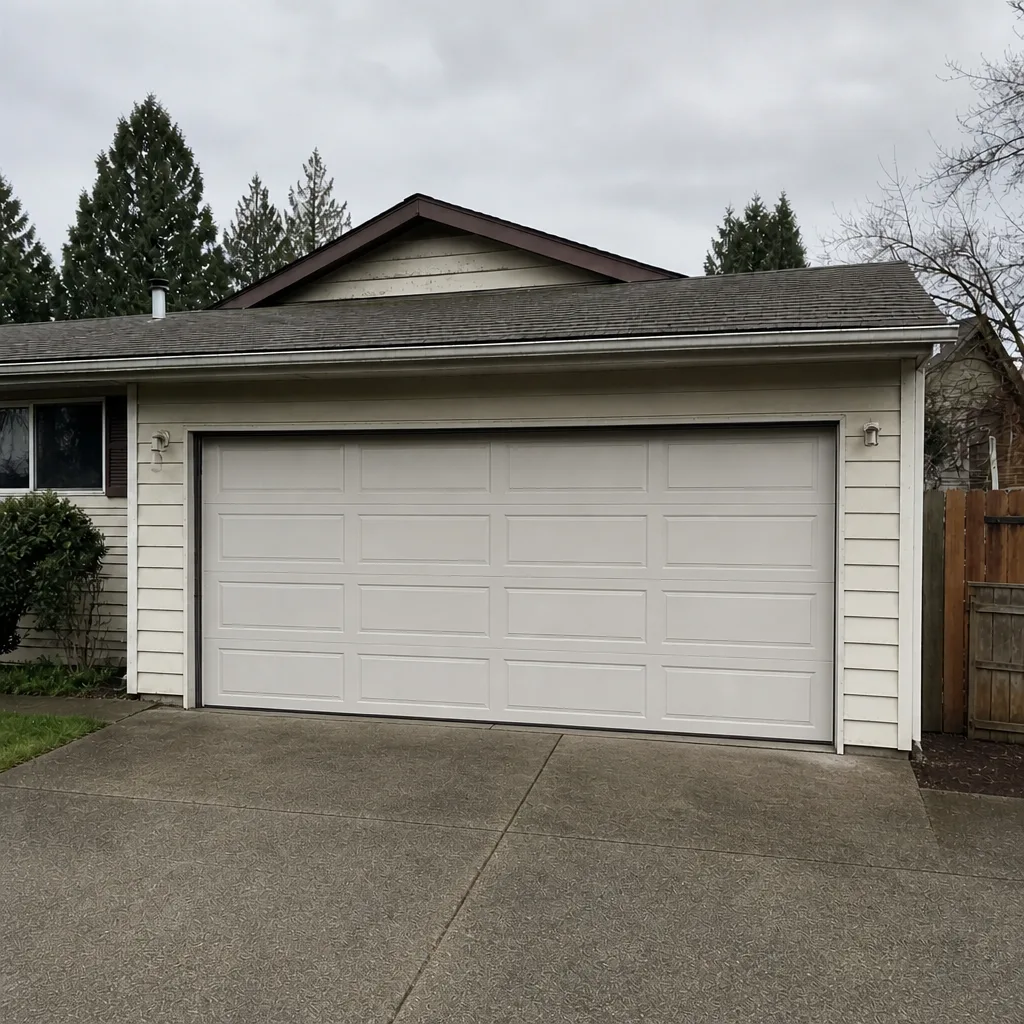
See the difference
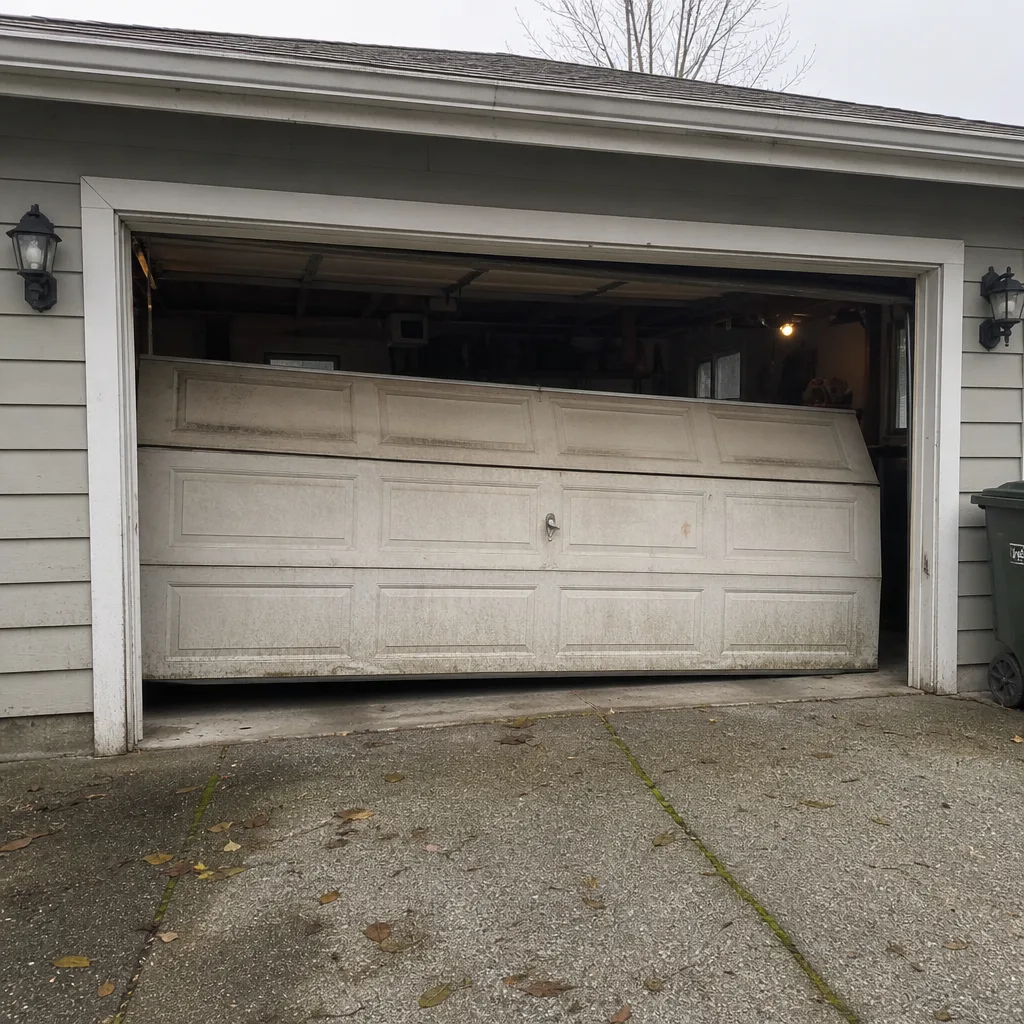 Before
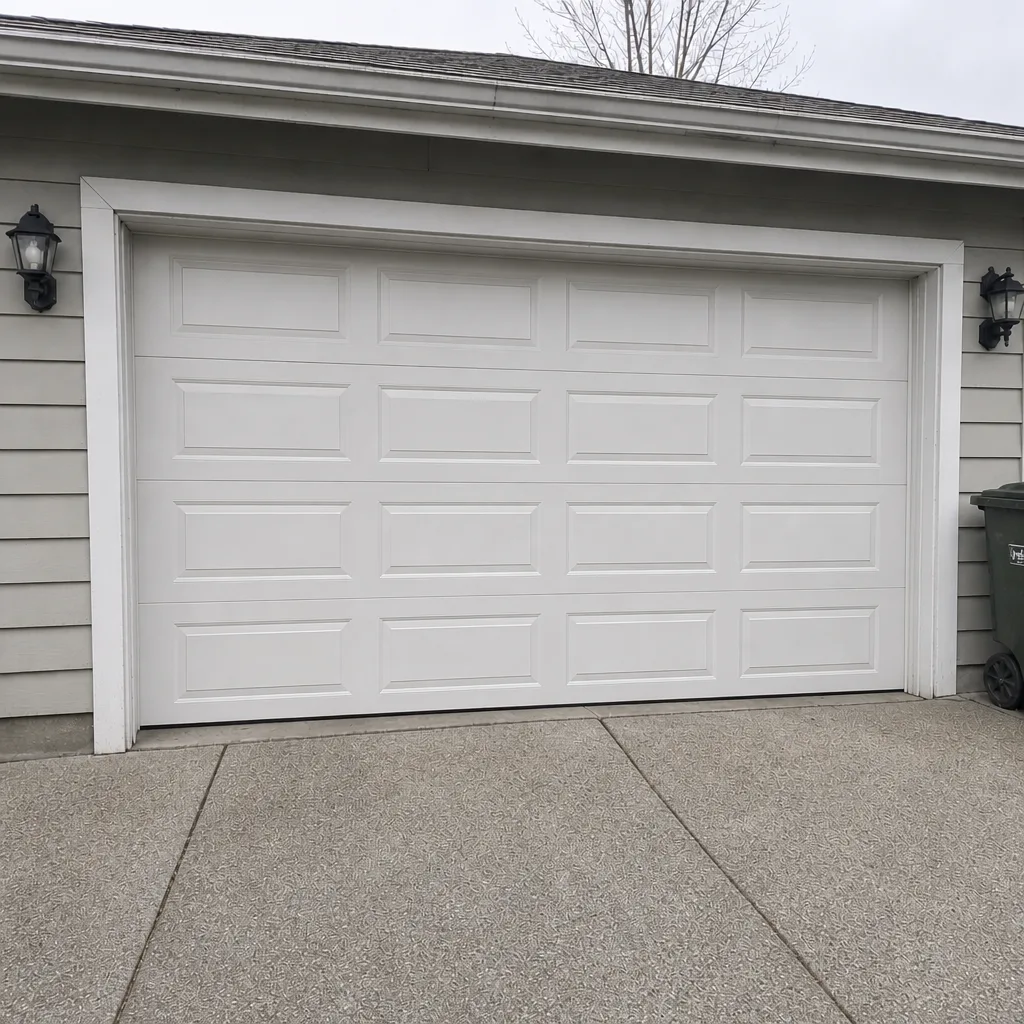 After
 Before
 After
 Before
 After
When to Call a Professional
You should call a professional the moment any of these come up: a snapped spring, a door that drops on its own during the balance test, a cable that’s off the drum or frayed, a bottom bracket with a loose or broken bolt, a track visibly bent, an opener that won’t respond to a working remote or wall switch, a photo-eye that can’t be aligned, or a reverse test that fails after adjustment. If you hear metal-on-metal grinding that gets worse over a week, that’s a mechanic’s visit, not a maintenance task. Spring, cable, and bottom-bracket work is the sharpest line in this guide: do not attempt it yourself. For Puyallup Garage Door Repair Pros, free estimates are available, and our technicians arrive knowing what Clopay, Amarr, Wayne Dalton, and Craftsman systems look like when they fail. Call (844) 668-5460. We answer 24/7. Fast dispatch from 7am to 7pm, Sunday through Friday. A price is quoted and agreed before any work starts.
Frequently Asked Questions
Once a year for a full service, plus a quick 15-minute monthly check of the balance, reverse, and sight-and-sound tests. Puyallup’s damp climate makes the annual lubrication and rust inspection more important than in dry regions, because humidity accelerates corrosion on springs and hinges. If your door is on a Clopay, Amarr, or Wayne Dalton setup with exposed steel parts, add a mid-winter rust check to the routine. Call (844) 668-5460 for an exact quote if anything looks worn – estimates are free.
You can safely apply a light silicone spray to the exterior of a torsion spring if it’s intact and not under adjustment. What you should never do is touch an extension spring’s cable, unwind a torsion spring, or adjust tension yourself. Those are the parts under the door’s full weight, and they cause serious injury when they let go. If you’re not sure which type you have, leave the springs to a pro. Call (844) 668-5460 with what you’re seeing and we’ll tell you whether it’s a spray-and-forget or a technician visit.
The door becomes dramatically heavier, often impossible to lift with one hand, and may drop back down immediately after you let go. You’ll usually hear a loud bang from the garage, sometimes hours after the door was last used. Don’t operate the door with the opener after a spring snap – the motor will strain and can fail within a few cycles. This is a same-day repair situation. Call (844) 668-5460 and we’ll get a technician out to confirm and repair it.
Not usually. If the opener hums or clicks but the door stays still, the problem is typically the drive gear, the travel chain, or the trolley disconnected from the door arm. On LiftMaster, Chamberlain, Genie, and Craftsman openers, this is a routine diagnostic and often a parts-level fix rather than a whole-opener replacement. A repair-first technician can usually tell you within minutes which it is. Call (844) 668-5460 for a free estimate.
Torsion springs are horizontal, mounted on a steel shaft above the door, and run parallel to the door’s top edge. Extension springs run along each side track and stretch parallel to the horizontal tracks. Torsion setups usually don’t have a visible spring when you look at the sides; extension setups clearly show a long spring on each side. If you’re unsure which type you have, snapping a photo and calling us is the quickest way to find out – call (844) 668-5460.
Yes. The wet-season humidity in this part of Washington speeds up corrosion on springs, hinges, and roller stems, and it makes weather seals crack sooner. In practice that means a rust check every few months and a fresh silicone coat on the moving parts once a year, not every two or three as you might do in a drier climate. Call (844) 668-5460 if you spot rust bloom you haven’t seen before – estimates are free.
The Bottom Line
A garage door maintenance checklist is only as good as its pass/fail lines. The parts that matter most are springs, cables, tracks, rollers, and the reverse-safety system – and each one has a specific “worn” look that’s learnable in an afternoon. Test the balance every month, lubricate the moving parts with silicone spray once a year, and leave spring and cable work to a technician who knows how to work safely around extreme tension. That combination prevents the majority of failures we see. When something doesn’t pass, call (844) 668-5460. We answer 24/7. Fast dispatch from 7am to 7pm, Sunday through Friday. The price is quoted and agreed before any work starts.
Written by the team at Puyallup Garage Door Repair Pros.